Winter hiking safety tips
Winter hiking offers unparalleled beauty crisp air, silence, and stunning snowy vistas. However, the serene landscape also hides significant hazards, including rapidly changing weather, ice, shorter daylight hours, and the constant threat of hypothermia. Unlike summer hiking, where small mistakes are forgivable, winter errors can quickly become life-threatening.
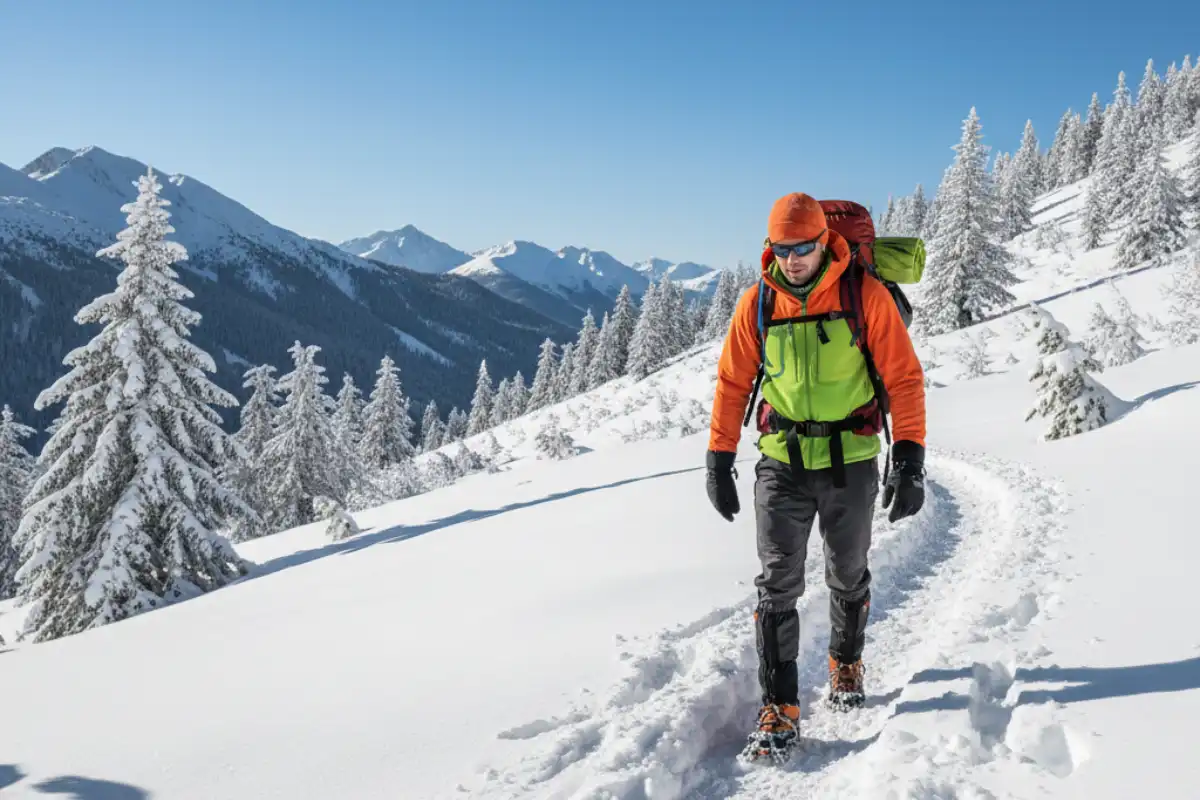
Gear Is Non-Negotiable: Traction and Warmth 🎒
In winter, standard hiking gear is insufficient. Specialized equipment for icy and snowy conditions is essential.
1. Traction Devices
Ice is the single biggest threat to winter hikers, causing debilitating slips and falls. Never start a winter hike without traction.
- **Microspikes/Trail Crampons:** These are indispensable. They are lightweight rubber harnesses with stainless steel spikes or chains that fit over your boots, providing phenomenal grip on packed snow and ice.
- **Trekking Poles:** Essential for stability, balance, and testing snow depth. Use them with snow baskets to prevent them from sinking too deep.
2. Insulation and Hydration Management
Your pack needs to manage both your body temperature and the challenge of keeping water from freezing.
- **Insulated Boots:** Choose boots rated for cold temperatures (400g of insulation is a good minimum). Remember: tight boots equal cold feet.
- **Hydration:** Use an **insulated water bottle or thermos** instead of a hydration bladder (hoses freeze easily). Hot, sugary drinks or broth can also help warm your core.
Experienced Hiker Tip: The ‘Extra Layer’ Rule
“I always pack one full, thick, insulated layer (like a down puffy jacket) that I *never* start hiking in. This is my dedicated emergency layer. If I stop moving, get injured, or the weather suddenly drops, I know I have a powerful, dry warmth source to help me stabilize until help arrives or I reach shelter.” (Source: Backcountry Magazine Interview)
Layering and Hypothermia Prevention 🌡️
Managing sweat is the key to preventing hypothermia, even on mild winter days.
The Three-Layer System (Updated for Winter)
- **Base Layer (Wicking):** Merino wool or synthetic fabrics (never cotton!). This layer must move sweat away from your skin, even during exertion.
- **Mid-Layer (Insulation):** Fleece, down, or synthetic fill. This is the warmth engine, trapping body heat. This layer should be easily removable.
- **Outer Shell (Protection):** A waterproof and windproof jacket and trousers. This layer protects the insulation from getting wet and shields against wind chill.
Preventing the “Unzips and Chills” Cycle
Regulate your temperature *before* you start sweating heavily. As soon as you begin to feel warm, take off a mid-layer or open up your jacket and pit zips. **Stop to adjust layers.** Waiting until you are drenched in sweat means your base layer is wet, and you’re set up for rapid heat loss the moment you stop moving.
Frequently Asked Questions About Winter Hiking
What is the most common mistake made by winter hikers?
The most common mistake is **improper layering**, leading to sweating and then hypothermia. Hikers often wear too much at the start, sweat profusely while climbing, and then the wet layers cool them down rapidly when they stop for a break or reach the summit.
Should I use poles, even if I don’t use them in summer?
Yes, absolutely. Trekking poles are essential in winter for providing **stability on icy patches**, helping you maintain balance when crossing uneven snow, and taking pressure off your knees during steep descents, which is critical when carrying heavy winter gear.
How do I prevent my water from freezing in my bottle?
Use a **vacuum-insulated stainless steel bottle (Thermos)**. If using a regular bottle, store it upside down (ice forms from the top down, leaving the mouth clear) and keep it inside your pack, close to your back, where your body heat can offer some warmth.
Is it necessary to carry snowshoes?
It depends on the snow depth. If the snow is deep, snowshoes are necessary to prevent exhausting post-holing. If the trail is well-packed and icy, **microspikes** are sufficient. If in doubt about the trail conditions, always carry snowshoes or call a local park office for the latest trail report.
What should be in my emergency kit for winter?
Your emergency kit should include an **extra insulated layer**, a **fire starter** (waterproof matches/lighter), a **whistle**, a basic **first aid kit**, and high-calorie **emergency food** (nuts, energy bars). A small **emergency foil blanket** or bivvy sack is also crucial for retaining heat if you are forced to stop.
Conclusion: Preparation is the True Adventure 💡
Winter hiking offers profound rewards, but it demands respect and thorough preparation. By prioritizing specialized gear for traction and warmth, mastering the art of layering to manage sweat, and strictly adhering to time management protocols, you transform the wilderness from a potential danger zone into a breathtaking and safe adventure. In winter, preparation is not just a suggestion it is the most important piece of gear you can carry.