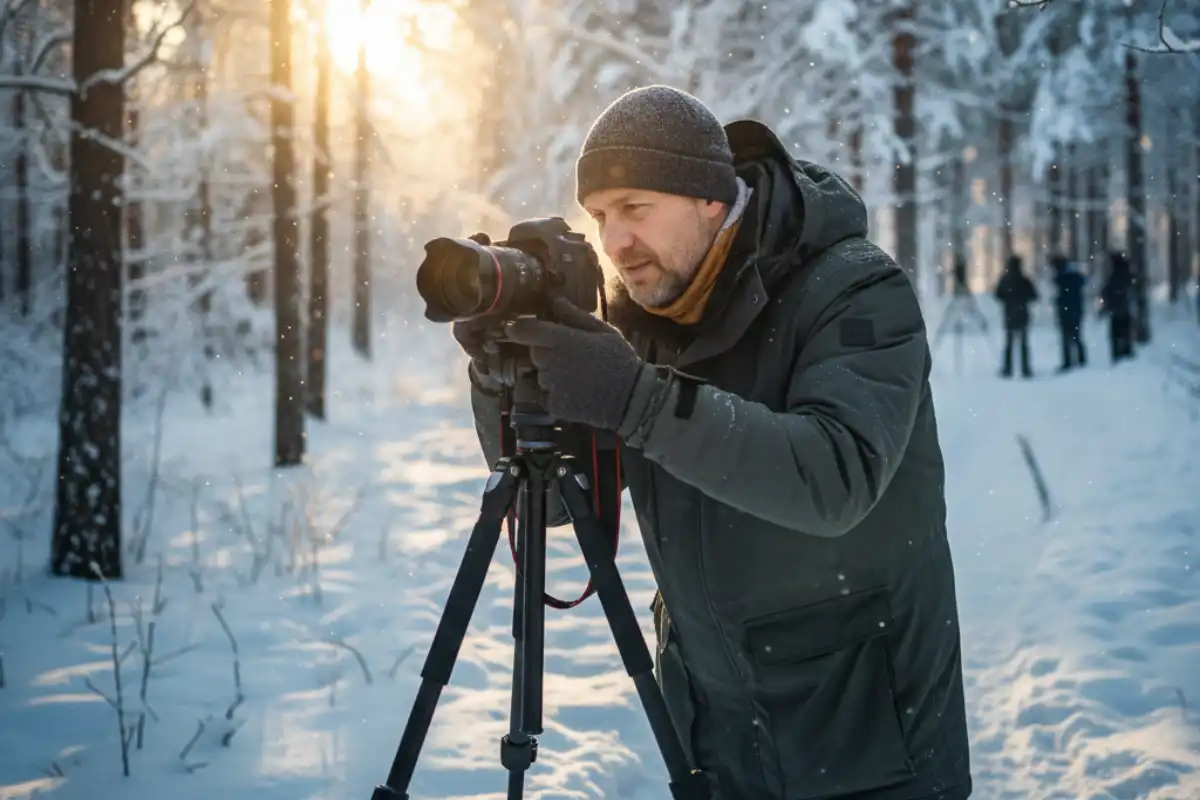
How to plan a winter photography trip
Winter photography offers unique opportunities: crisp light, dramatic snowscapes, clear night skies, and the captivating contrast of color against white. However, the cold presents substantial technical and logistical challenges that can quickly ruin expensive gear and shorten shooting time. Planning a successful winter photography trip requires a systematic approach to **gear protection, battery longevity, and correct exposure**.
Gear Protection: The Cold Battle
The two biggest threats to cameras and lenses in winter are the cold itself and the subsequent condensation.
1. Battery Management is Key
Cold temperatures dramatically reduce the capacity of lithium-ion batteries. What lasts all day in summer might last only an hour near freezing.
- **The Hack:** Always carry spare batteries in an **inner pocket** (close to your body heat). Only insert the battery into the camera immediately before shooting. When not in use, keep the spares warm.
- **Photographer Tip:** “When shooting the Northern Lights, I wrap my camera body (excluding the front of the lens) in a **wool sock** or a neoprene sleeve. It helps maintain the core temperature and significantly prolongs the active battery life for those long exposures.” (Source: Advanced Photography Magazine)
2. Condensation Control
Moving a cold camera into a warm hotel room is the fastest way to cause condensation, which can lead to fungus and internal damage.
- **The Process:** Before re-entering a warm space, place your entire camera and lens setup into a **sealable plastic bag** (like a Ziploc or dry bag). Seal the bag immediately. The condensation will form on the outside of the bag, not on your gear, as the temperature slowly normalizes. Wait at least 1-2 hours before removing the camera from the bag.
Technical Exposure in Snow: Dealing with Brightness
Snow is a large, highly reflective surface. Camera meters are designed to average light to a medium grey (18% grey), causing them to be fooled by vast white scenes. If you use automatic settings, the snow will often appear muddy and underexposed.
1. Overexpose by Intent
To ensure snow appears bright and white, you must manually **overexpose** the scene.
- **The Rule:** Start by adding **+1$ to +2$ stops of exposure compensation**. Adjust as necessary using your histogram the data should be clustered slightly to the right (highlight side), without hitting the far right edge (blown-out highlights).
2. White Balance Check
Automatic White Balance (AWB) often struggles with blue shadows in snow, resulting in overly cool (blue) images. Switch to a custom White Balance or use the **Cloudy** or **Shade** preset. This adds warmth back into the scene, creating a richer, more inviting tone.
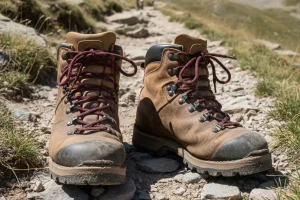
Gear Specialist Advice: Tripods and Footwear
“Don’t skimp on the tripod. In winter, you need stability against wind, and you must operate it with thick gloves. Choose a tripod with thick, easy-to-handle leg locks and, crucially, wear **traction cleats** over your boots. Icy ground is your biggest safety hazard; a fall can break you or your lens.” (Source: Professional Photographer Gear Review)
Safety and Logistics: Planning the Unpredictable
The cold amplifies small logistical errors into major problems.
- **Gloves for Photographers:** Invest in **mittens** that have a zipper or flap allowing quick access to thin, tactile inner gloves. You need the warmth of mittens but the dexterity of thin gloves to adjust settings.
- **Vehicle Preparedness:** If driving, ensure your vehicle is equipped for snow and ice. Carry extra blankets, emergency food, and a shovel, as daylight is short and conditions can change rapidly.
Frequently Asked Questions About Winter Photography
What is the best type of lens to use for winter landscapes?
A **wide-angle lens** (14mm-35mm equivalent) is generally best for landscapes, as it captures the vastness of the snowy scene. However, a **telephoto lens** (70mm-200mm) is excellent for isolating distant trees or capturing compressed, dramatic mountain views, avoiding foreground clutter.
Should I use UV filters on my lens in the winter?
UV filters are highly recommended in winter, not for UV protection, but as a **sacrificial element**. They protect the front lens element from snow, ice, windblown grit, and accidental impact. It is much cheaper to replace a filter than a lens element.
How can I quickly remove condensation from my lens when shooting?
If condensation forms while *outdoors* (from breathing near the lens), use a gentle **lens cloth** to wipe it away. If the condensation is *inside* the lens (due to thermal shock), stop shooting, put the gear in a sealed bag, and let it acclimatize slowly in a cool, dry place.
Is it safe to change lenses outdoors in heavy snow?
It is generally discouraged. If you must change lenses, do so quickly and under the cover of an umbrella or inside your coat to prevent moisture from reaching the sensitive sensor cavity, which is the heart of your camera.
What is the best way to carry my camera gear in snow?
Use a water-resistant or waterproof backpack that offers easy access to your camera without having to fully set the bag down in the snow. Backpacks are superior to shoulder bags as they distribute weight and allow you to use poles or your hands for balance on icy terrain.
Conclusion: Capture the Silence and Light 🌟
A winter photography trip offers some of the most rewarding images, but success is directly proportional to your preparation. By prioritizing gear protection from cold and condensation, understanding the metering challenges of snow, and ensuring your personal safety, you can spend more time focusing on composition capturing the unique clarity, shadow, and stark beauty that only the winter landscape provides.